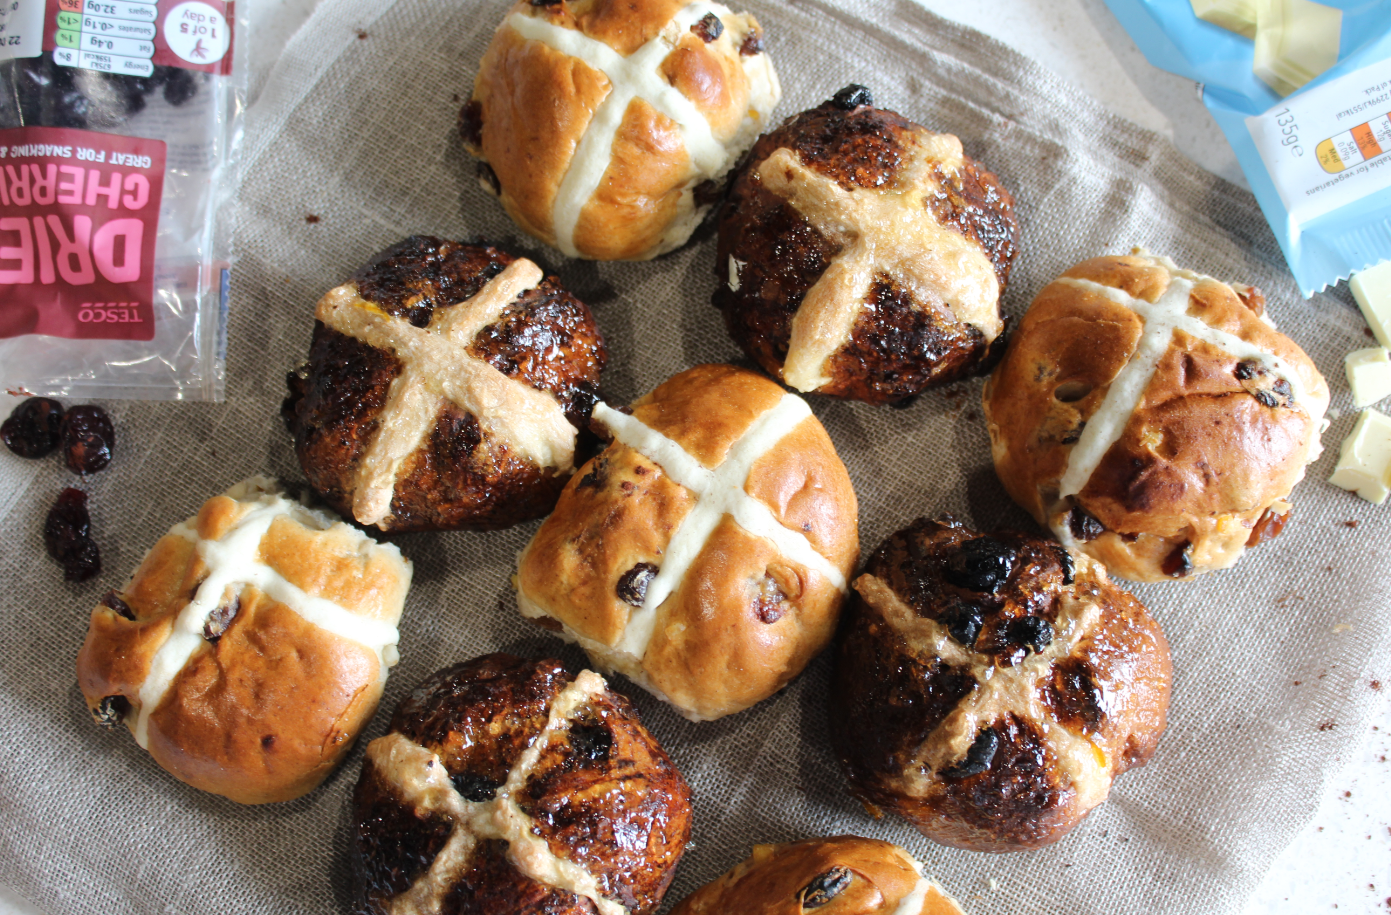
Do you feel like changing things up this Easter? In this Journal post, we’re giving a modern day make over to a much-loved classic, adding chocolate, orange and cherries into the mix.
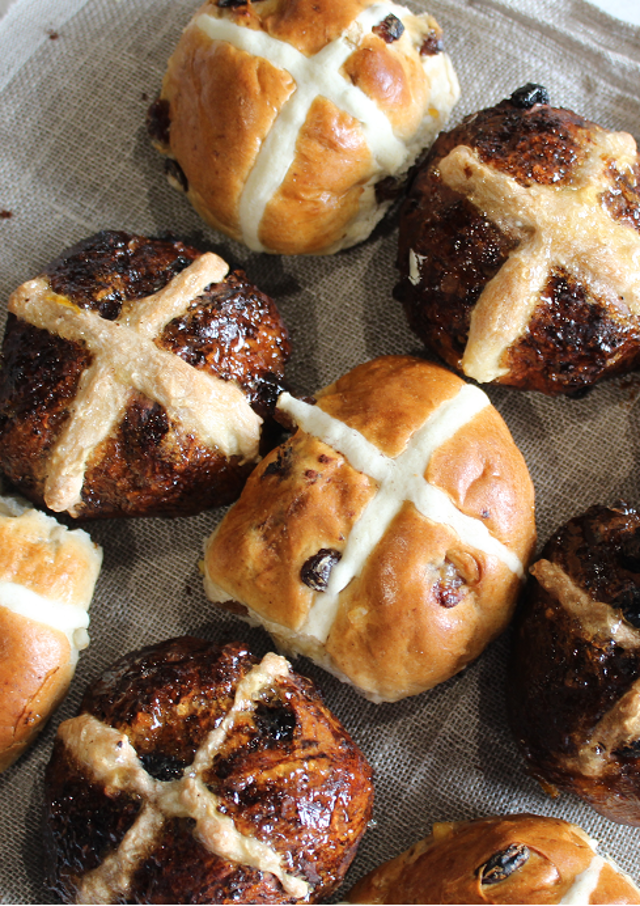
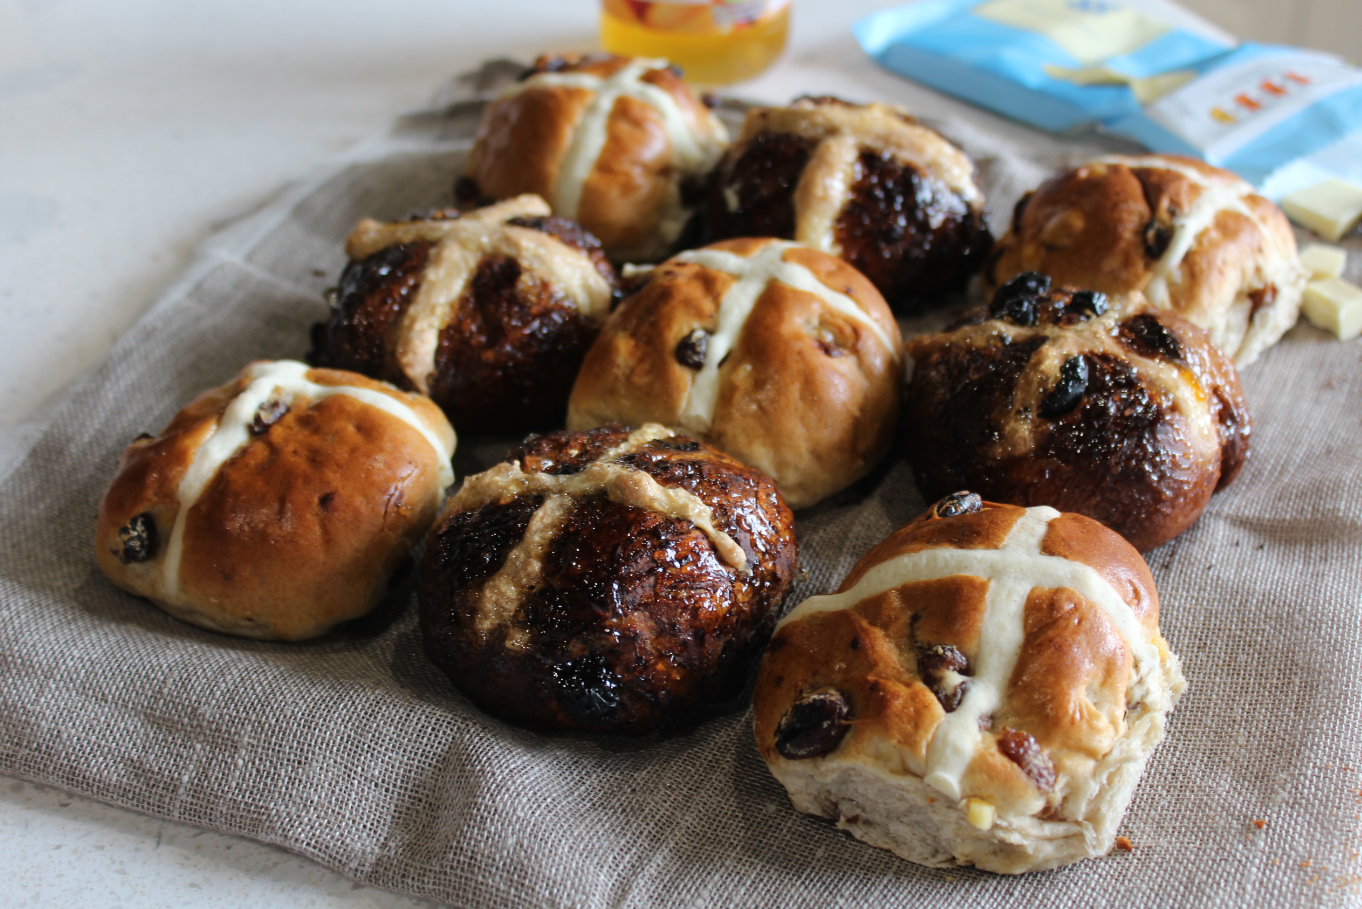
Not only do they taste amazing, the checkerboard effect makes them the perfect centrepiece for an Easter dining table.
The first ever written reference of the hot cross bun dates back to the early 1700s, so it’s likely that the treat was around for many years before this. It’s believed that the bun holds much religious symbolism for Christianity, with the white cross representing the cross on which Jesus was crucified, and the spices from the dough shown to represent Jesus’ embalming.
Although the buns are now mostly sold throughout the year in the UK, in the past they were reserved especially for Good Friday, as this marks the end of Lent. Traditionally during Lent, dairy food products were forbidden, so hot cross buns were a celebration that the period of reflection was over.
Today, the buns are enjoyed by everyone, so whether they hold religious importance to you, or you simply just enjoy the treat, we hope you love our twist on the classic recipe.
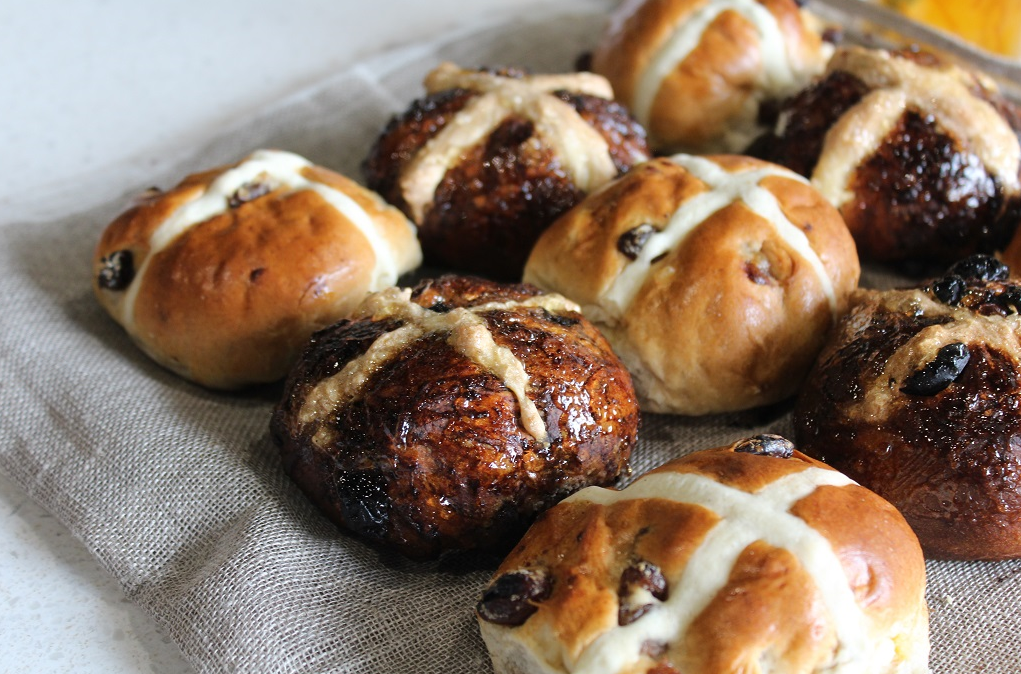
A chocolate twist on a much-loved classic, these fruity buns are perfect paired with butter and/or jam for an Easter brunch with family and friends.
• 250ml whole milk
• 50g salted butter (cut up into small pieces)
• 2 tbsp cocoa powder
• 600g strong white flour (100g of this is for the crosses)
• 1 tbsp ground cinnamon
• 80g golden caster sugar
• One 7g sachet fast-action dried yeast
• 1/2 tsp salt
• 1 large egg
• 150g juicy raisins
• 50g dark chocolate (cut up into small pieces)
• Zest of 1 orange
• 50g dried cherries
• 50g white chocolate (cut up into small pieces)
• Oil for the bowls and baking tray
• Orange marmalade for glaze (optional)
Begin by adding your milk to a saucepan and warm over a low heat until steaming. Then, remove the pan from the heat and add the chopped up butter, swirl until melted.
In a bowl or jug, mix your cocoa powder with 3 tbsp of boiling water, then leave aside to cool while you carry on with other elements of the bake.
In a mixing bowl, add 500g of your strong white flour, the golden caster sugar, cinnamon, yeast and salt. Next, pour in your warm milk mixture, along with your egg. Mix to form a sticky dough (a tabletop mixer would work well here if you have one).
Once mixed, knead for approx 8 to 10 minutes in the bowl or on a very lightly floured surface, until the dough is less sticky and feels springy.
Then, mix in your dried raisins until they are evenly spread throughout the dough.
Transfer your dough to a second clean mixing bowl and place on kitchen scales to weigh the full quantity. Using this weight, try to split your dough evenly in two, leaving one half in one mixing bowl, and popping the other back in your original bowl.
Now it’s time to add the fillings. In one bowl add your dark chocolate pieces, the cocoa and boiling water mixture (that should have now cooled), and your orange zest. In the other, add your white chocolate pieces and dried cherries.
Knead each mixture for a a minute until the fillings are evenly distributed and compact into the dough.
Pop each mixture out onto a clean surface while you wash out your mixing bowls. Once clean and dry, oil each bowl and transfer each mixture back into a bowl. Cover with clingfilm or a towel and leave somewhere warm to prove for 1-2 hours, until the dough has nearly doubled in size.
Once the time has passed, knead and fold each piece of dough a few times to knock out a bit of air. Then, divide each piece into six balls- using the scales to weigh out equal pieces if you want your buns to be uniform.
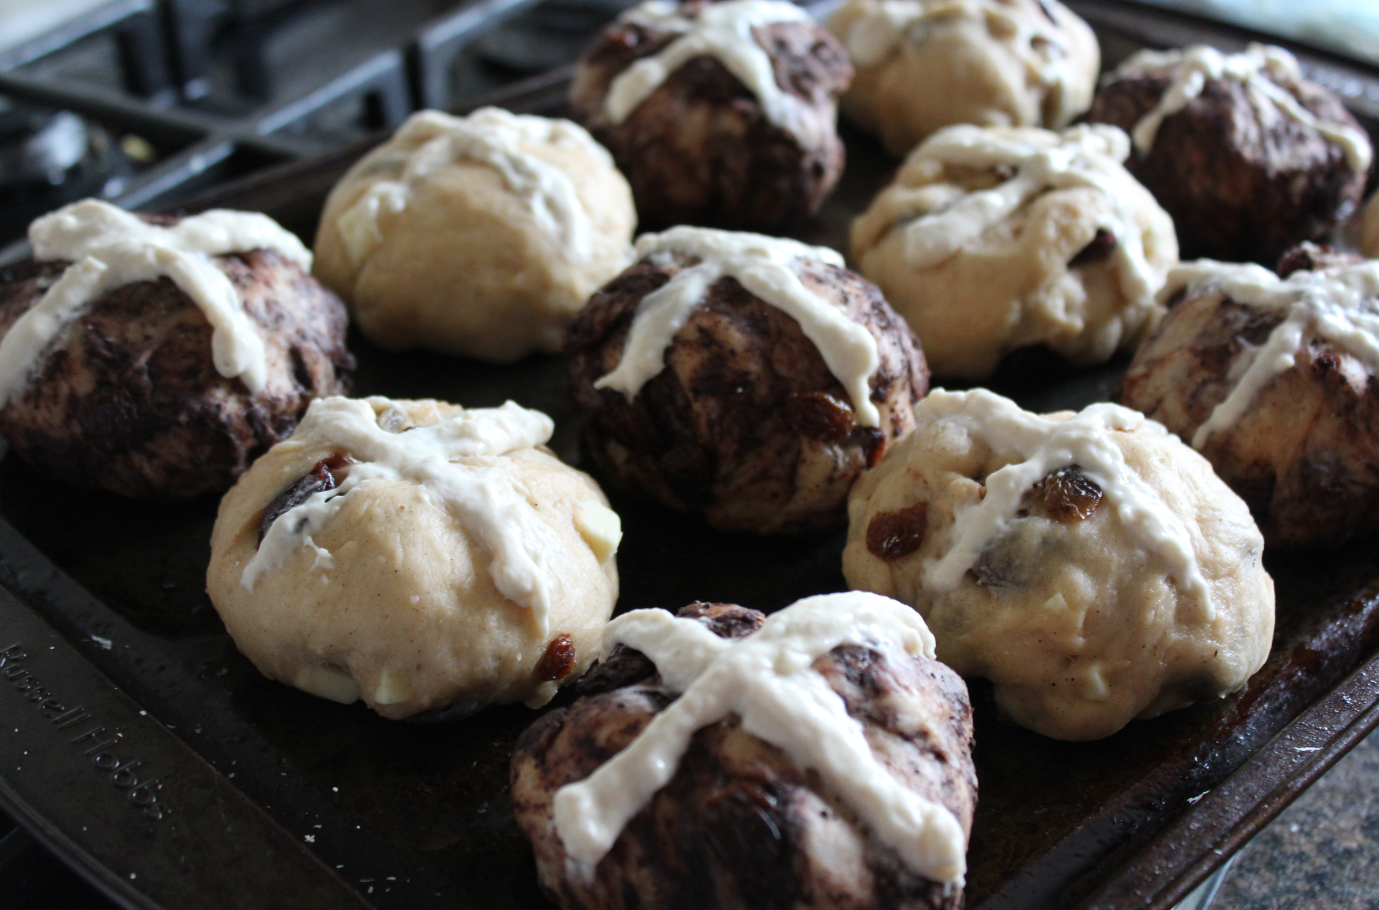
Shape your buns how you would like, then place on a lightly oiled oven tray in a checkerboard style, alternating between dark and light bun. We recommend leaving approx 1 to 2cm between each bun to allow for rising.
Cover your tray with cling film allow to prove in a warm room for a further hour, until they almost double in size again.
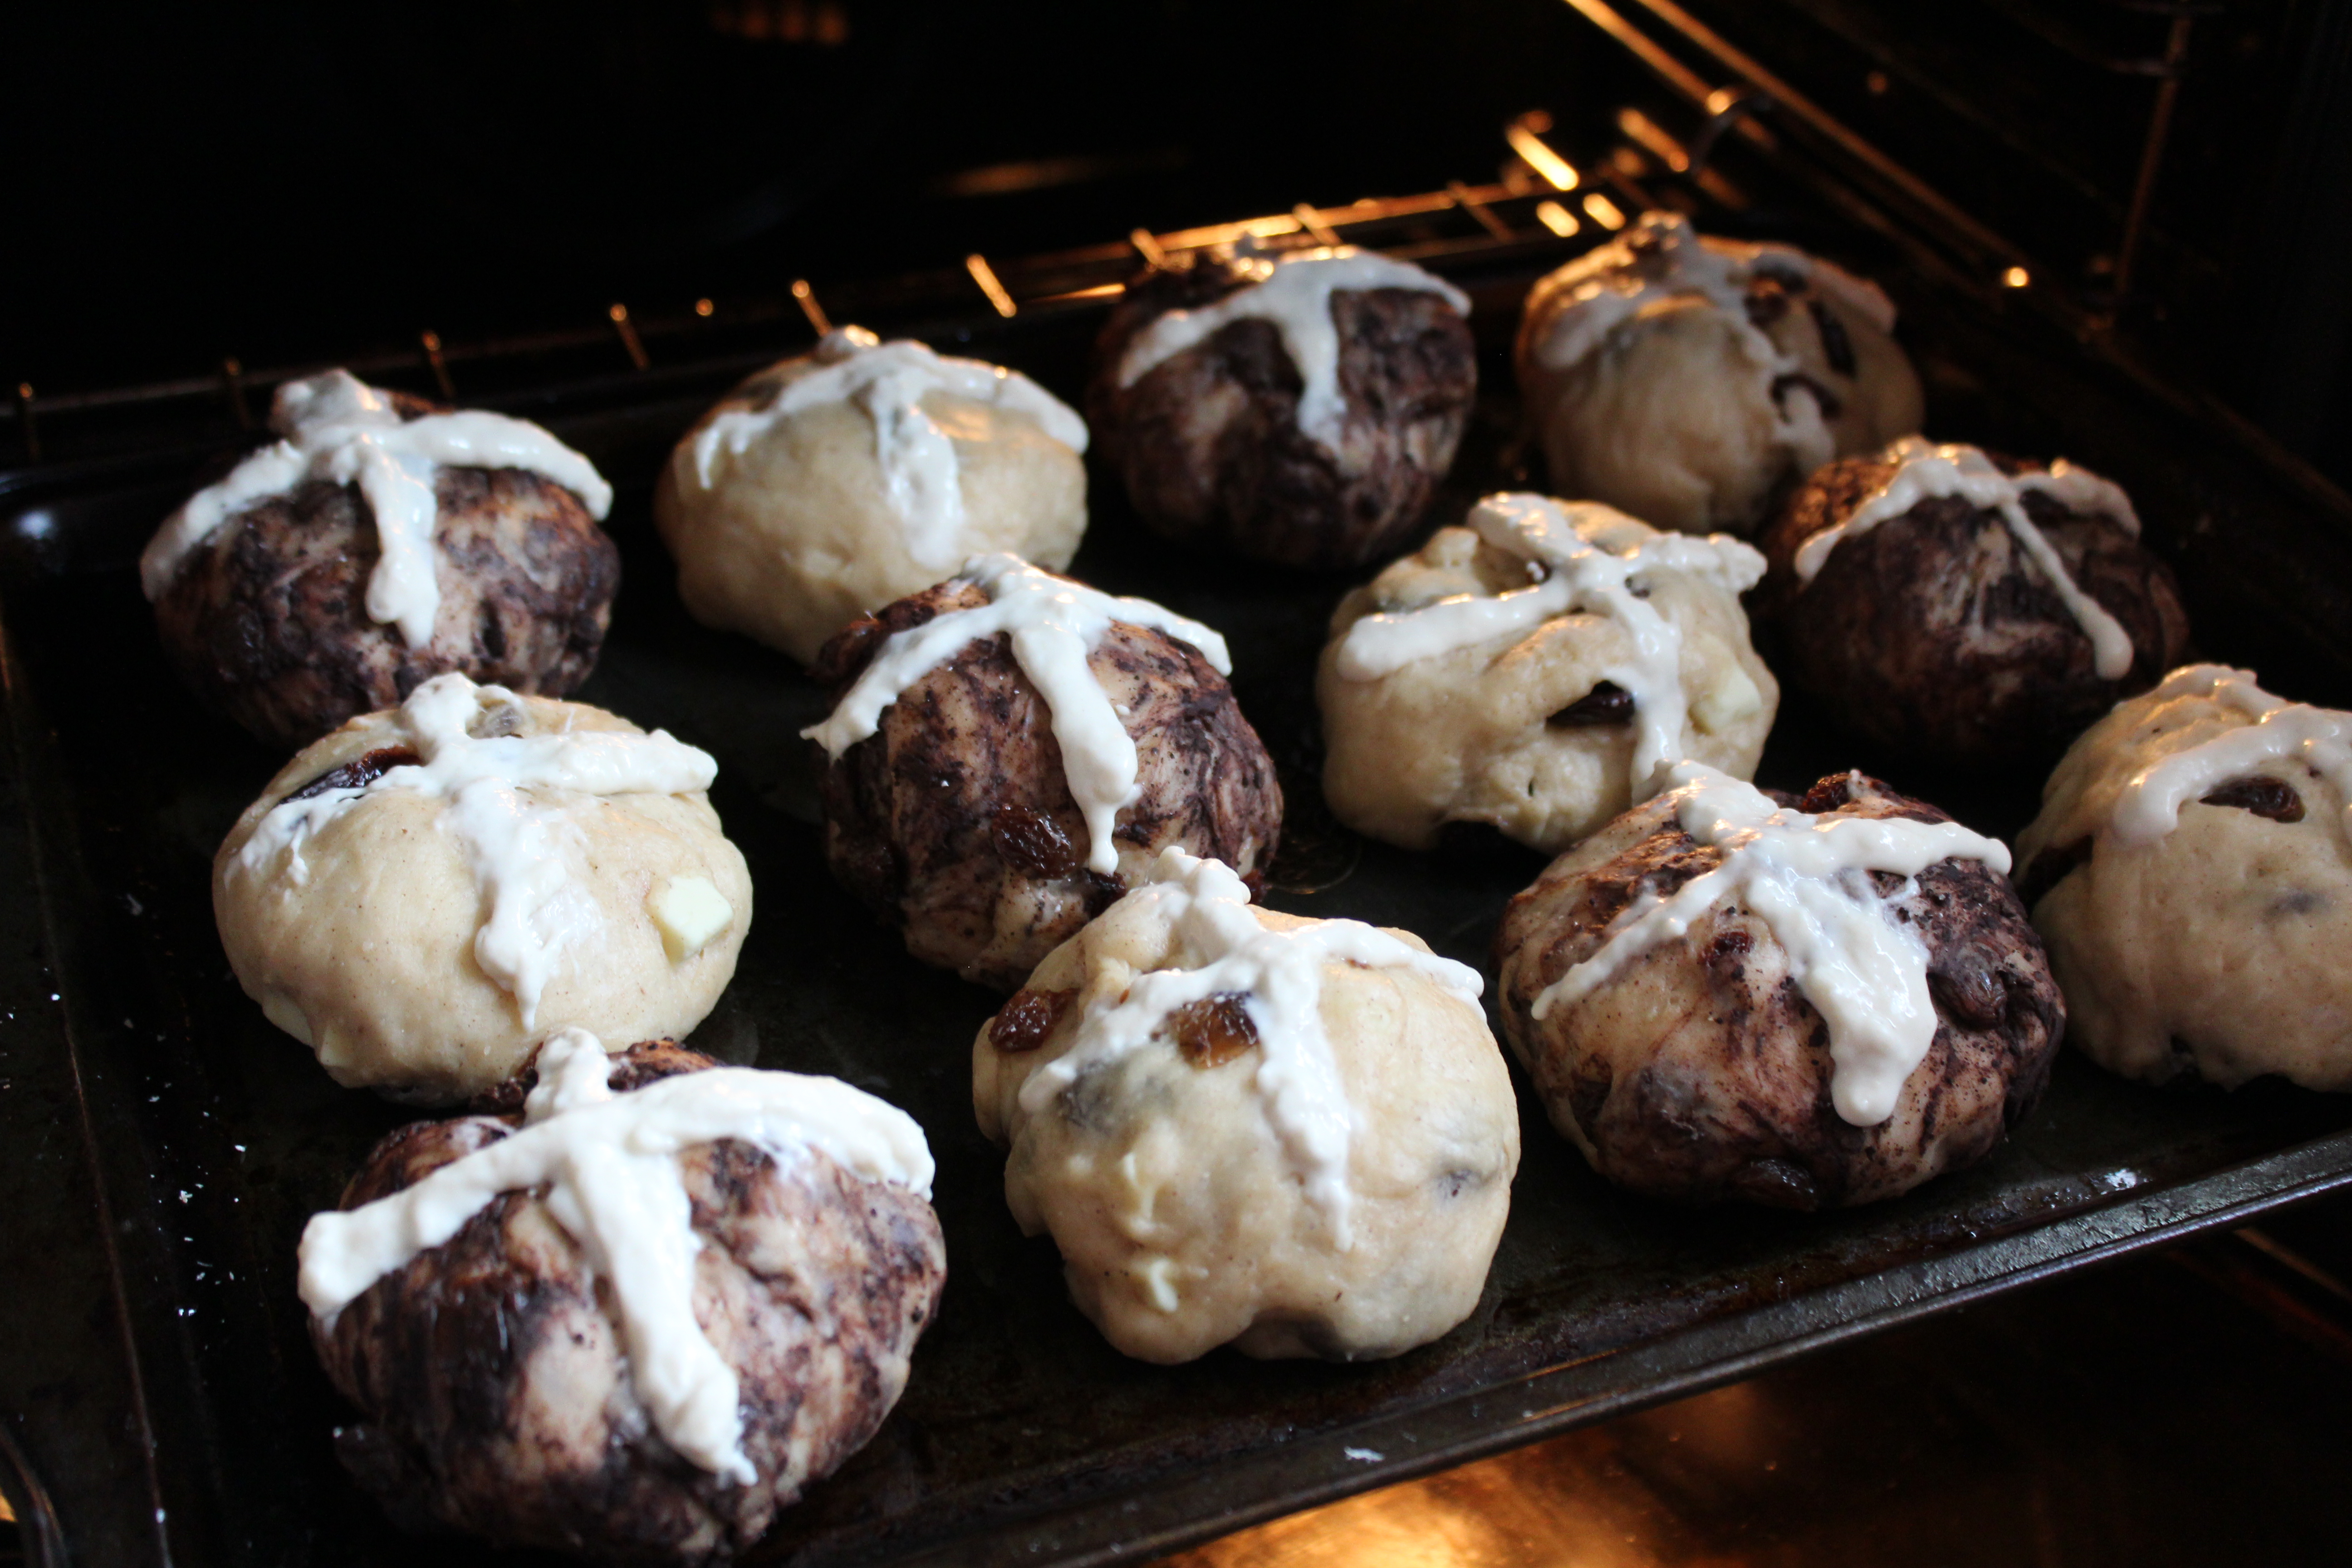
Turn your oven on to 200c/180c fan/gas 6 and allow to heat up while you create the crosses for your buns.
Mix 100g of the strong white flour with approximately 90ml of water to create a thick paste, then add this mixture to a piping or sandwich bag and snip a small piece from the corner. If your buns have had enough time to prove, remove the clingfilm and carefully pipe a cross onto each.
Bake in the oven for 20 – 25 minutes, checking every 5 minutes to make sure they don’t darken or burn.
Leave to cool.
Enjoy toasted with salted butter for the perfect Easter brunch. For those with a sweet tooth, warm orange marmalade in a saucepan and brush over the buns for a tasty, glossy finish.
Have we inspired you to make your own Checkerboard Hot Cross Buns? We’d love to see the end result- share your
pictures with us on social media.
We hope everyone has an amazing Easter!

Book a complimentary design session with your local 1909 expert to start planning your dream kitchen.
With our beautiful brochure, you can explore 1909 inspiration from the comfort of your very own home.
We are proud holders of the Planet Mark
Empowering change for a brighter future