It’s officially Mini Egg season, and if you can’t indulge yourself with a chocolate treat at Easter, when can you? In this Journal post, we’ll be sharing the perfect, gooey, fudgey blondie recipe to make the most of your extra Easter goodies.
As the Christian religion believes Jesus was resurrected on Easter Sunday and began his new life, eggs are said to represent this new life, and when they are cracked open, they are believed to symbolise an empty tomb.
In the week leading up to Easter- known as Holy Week- the eating of eggs (the kind laid by chickens, rather than made from chocolate!) was originally forbidden, and instead, they were decorated and given to children as gifts.
This tradition altered over time, until the first chocolate eggs were created in France and Germany during the 19th century, and as chocolate-crafting techniques were improved, the Easter egg we know and love today grew in popularity across the UK.
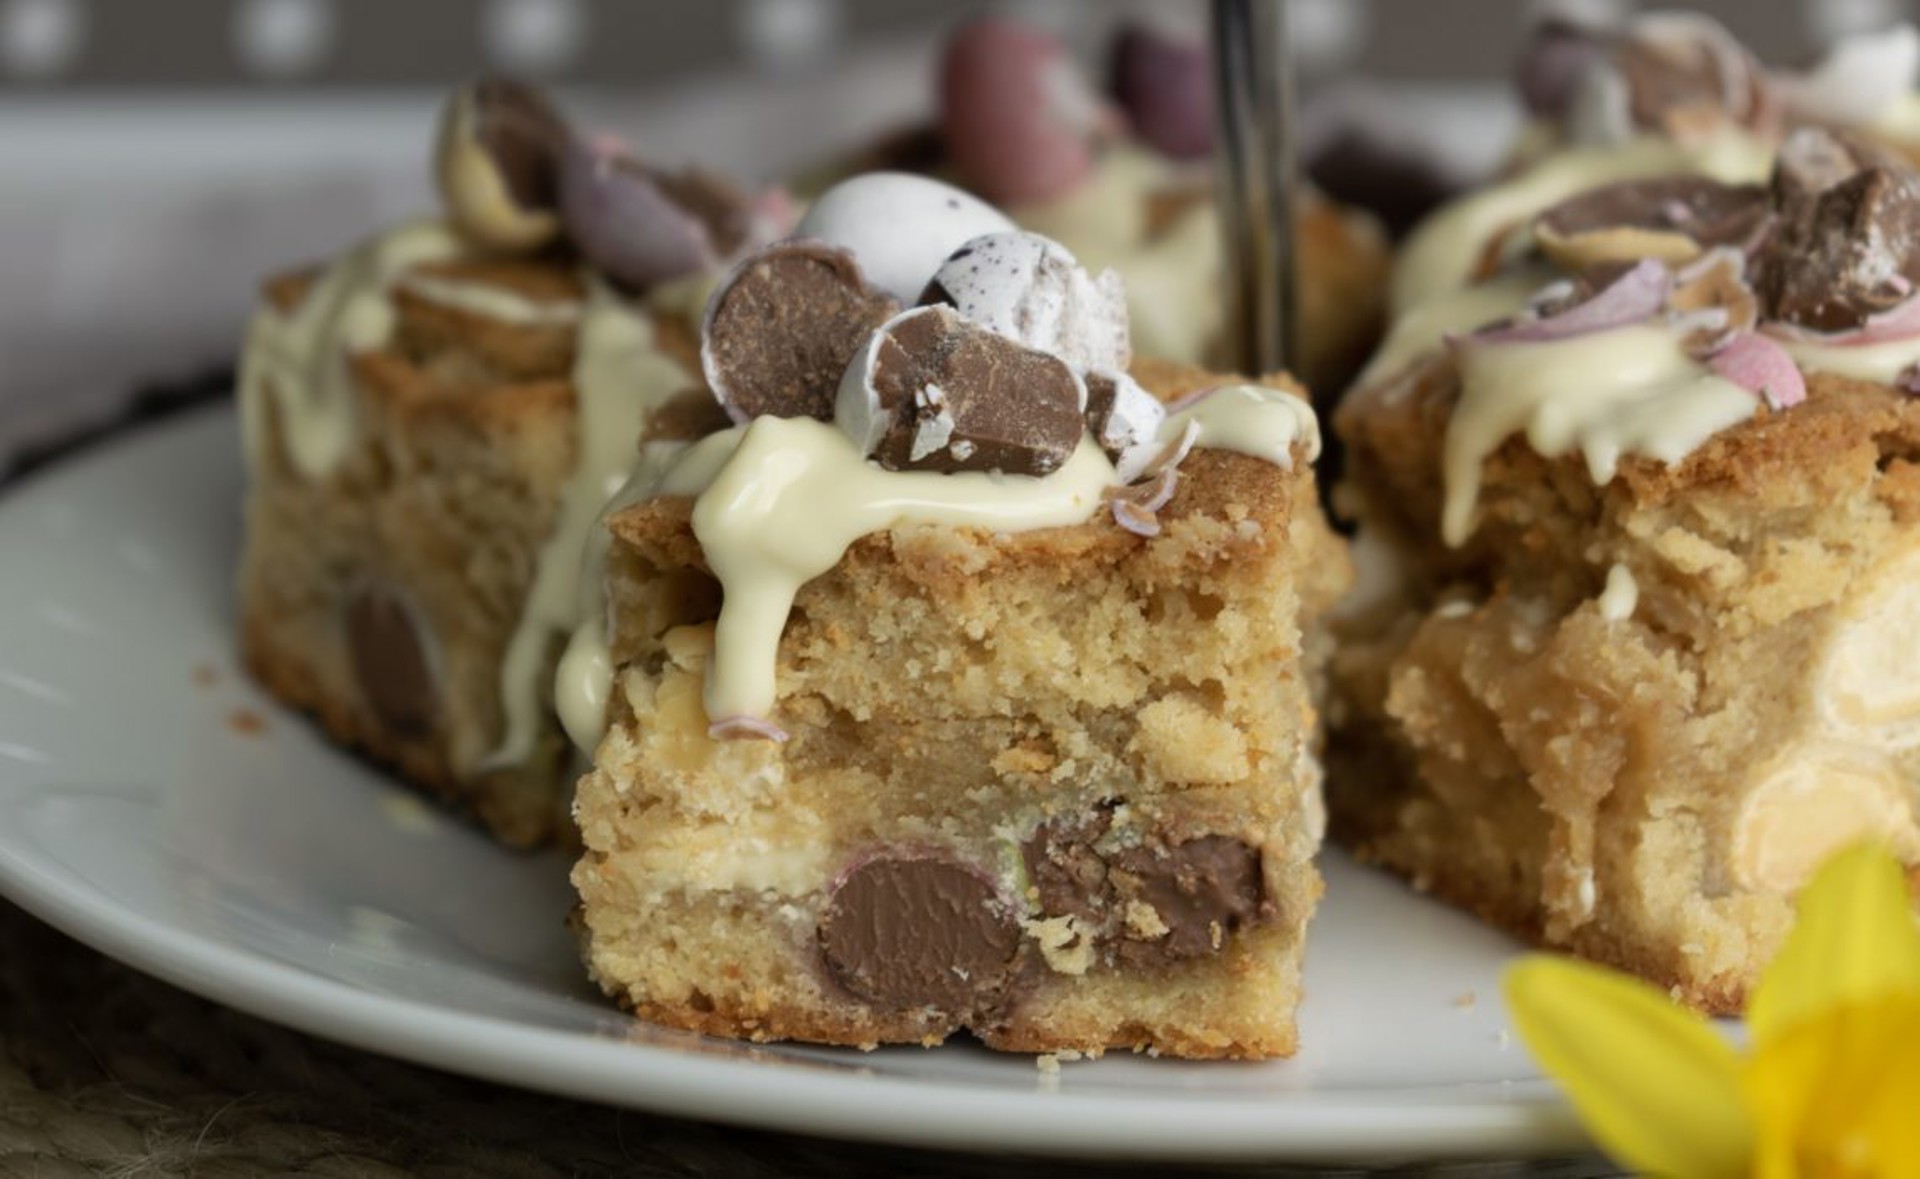
These gooey blondies are perfect for chocolate lovers and can be personalised with all of your favourite Easter treats.
Serves: Approximately 16 pieces (depending on how generous you are with your slices!)
Time: 15-20 minutes prep, approximately 30 minutes cooking, 5 minutes to decorate
For the blondies:
A 9×9 square tin or similar
Parchment/baking paper
200g melted unsalted butter
120g light brown sugar
120g granulated sugar
3 medium eggs
270g plain flour
1 tbsp cornflour
150g of white chocolate (broken up into small chunks)
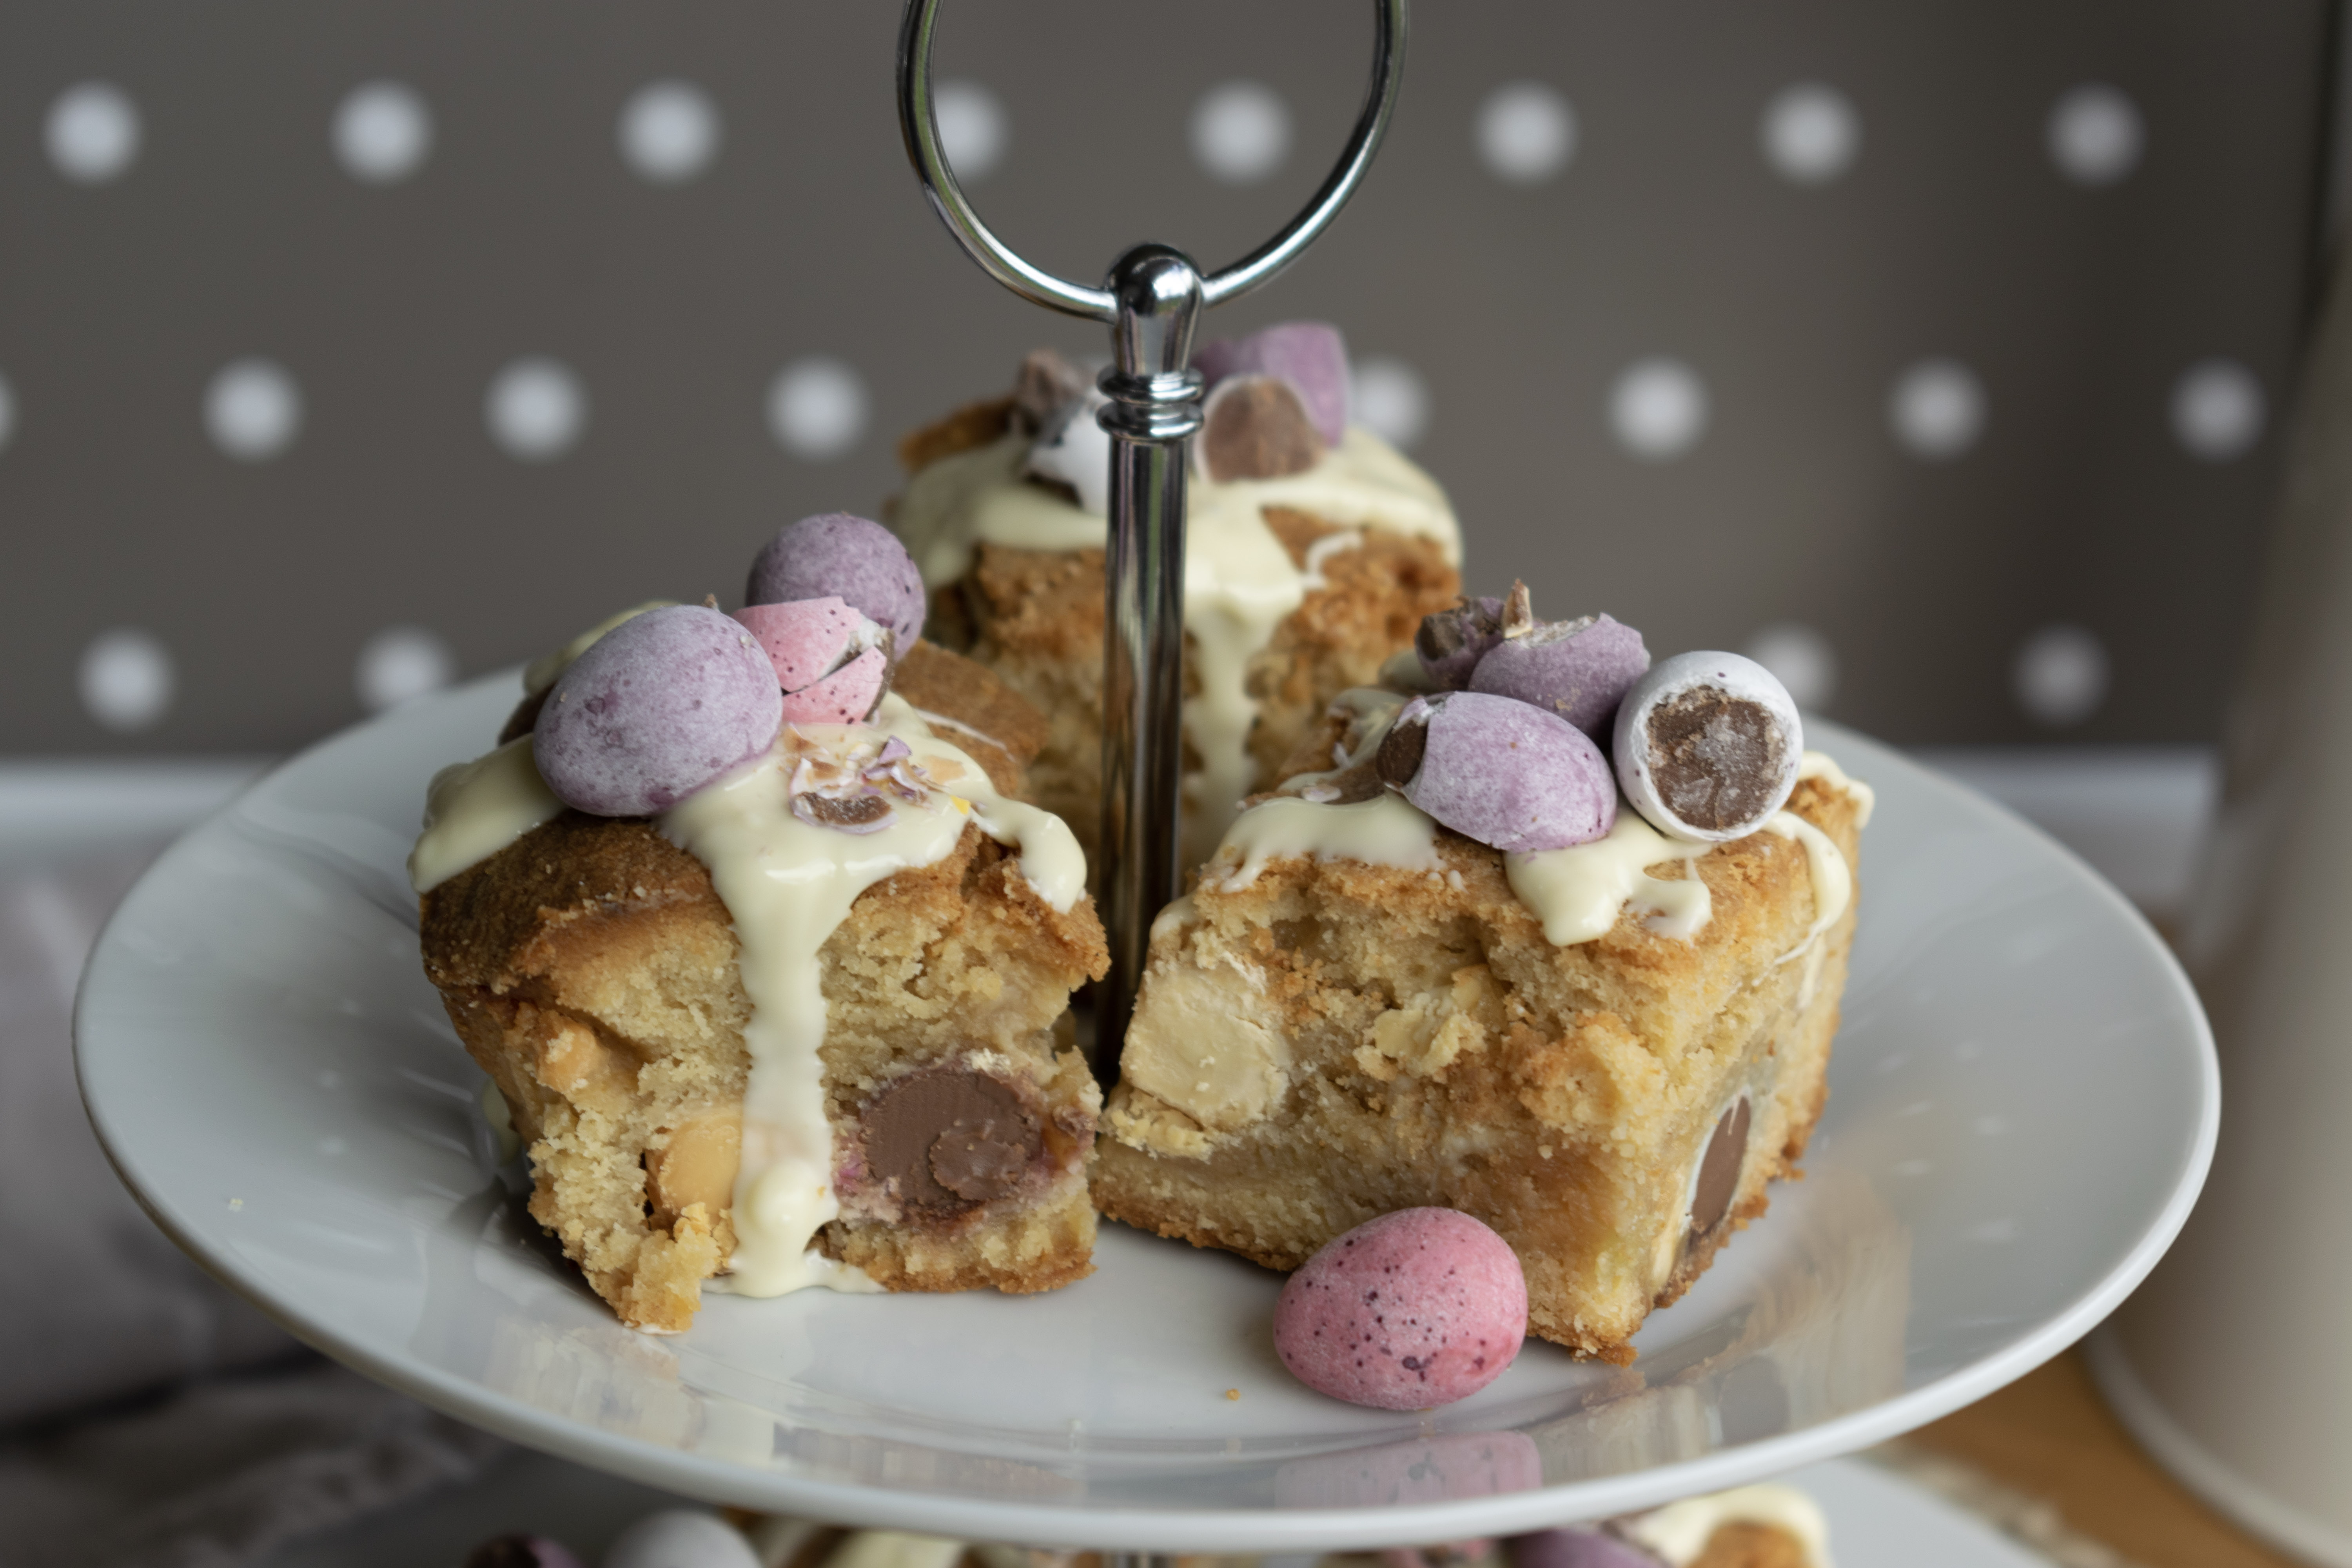
300g of extra Easter themed chocolate, such as Mini Eggs, Smartie Eggs or Milkybar Eggs.
For decoration:
Extra white chocolate to melt and drizzle on top
Extra crushed Easter chocolate
Step 1
First, melt your butter either with a heatproof bowl over a bain-marie, or in the microwave. If you choose the microwave, use a microwaveable bowl and cover with a microwavable plate, and make sure to keep checking to so as to avoid a buttery mess!
Preheat your oven to 180C/160C Fan and line your tin of choice with parchment paper.
Step 2
In a large mixing bowl, add both sugars and your melted butter, and whisk for several minutes until smooth or the mixture lightens.
Next, add in your eggs and continue to whisk/beat until smooth.
Step 3
Once smooth, add in your flour and cornflour, and beat until combined.
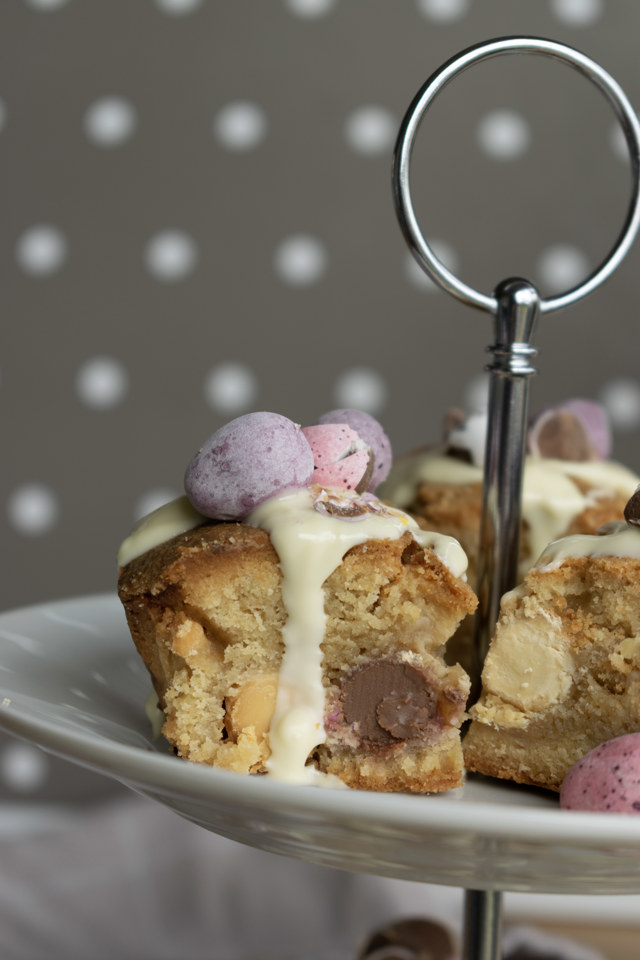
To complete your mixture, add in your broken-up white chocolate chunks and your chosen Easter chocolates, and fold through until evenly distributed through the mixture.

Step 4
Now your mixture is complete, pour it into your tin and spread, making sure to fill the tin to the edges. Smooth the top over with the back of a spoon, or give your tin a good shake to determine the mixture is evenly distributed.
Then, pop it into the oven! The blondies can take anywhere between 25 – 45 minutes to cook, so you will need to keep an eye on them. There will be a slight wobble in the middle, and you can test they’re baked my using a skewer to poke through- if it comes out clean then the batter is cooked.
Tip: Make sure not to over bake as the blondies will go cakey rather than gooey!
Step 5
Once your blondies are baked, leave them in the tin to cool.
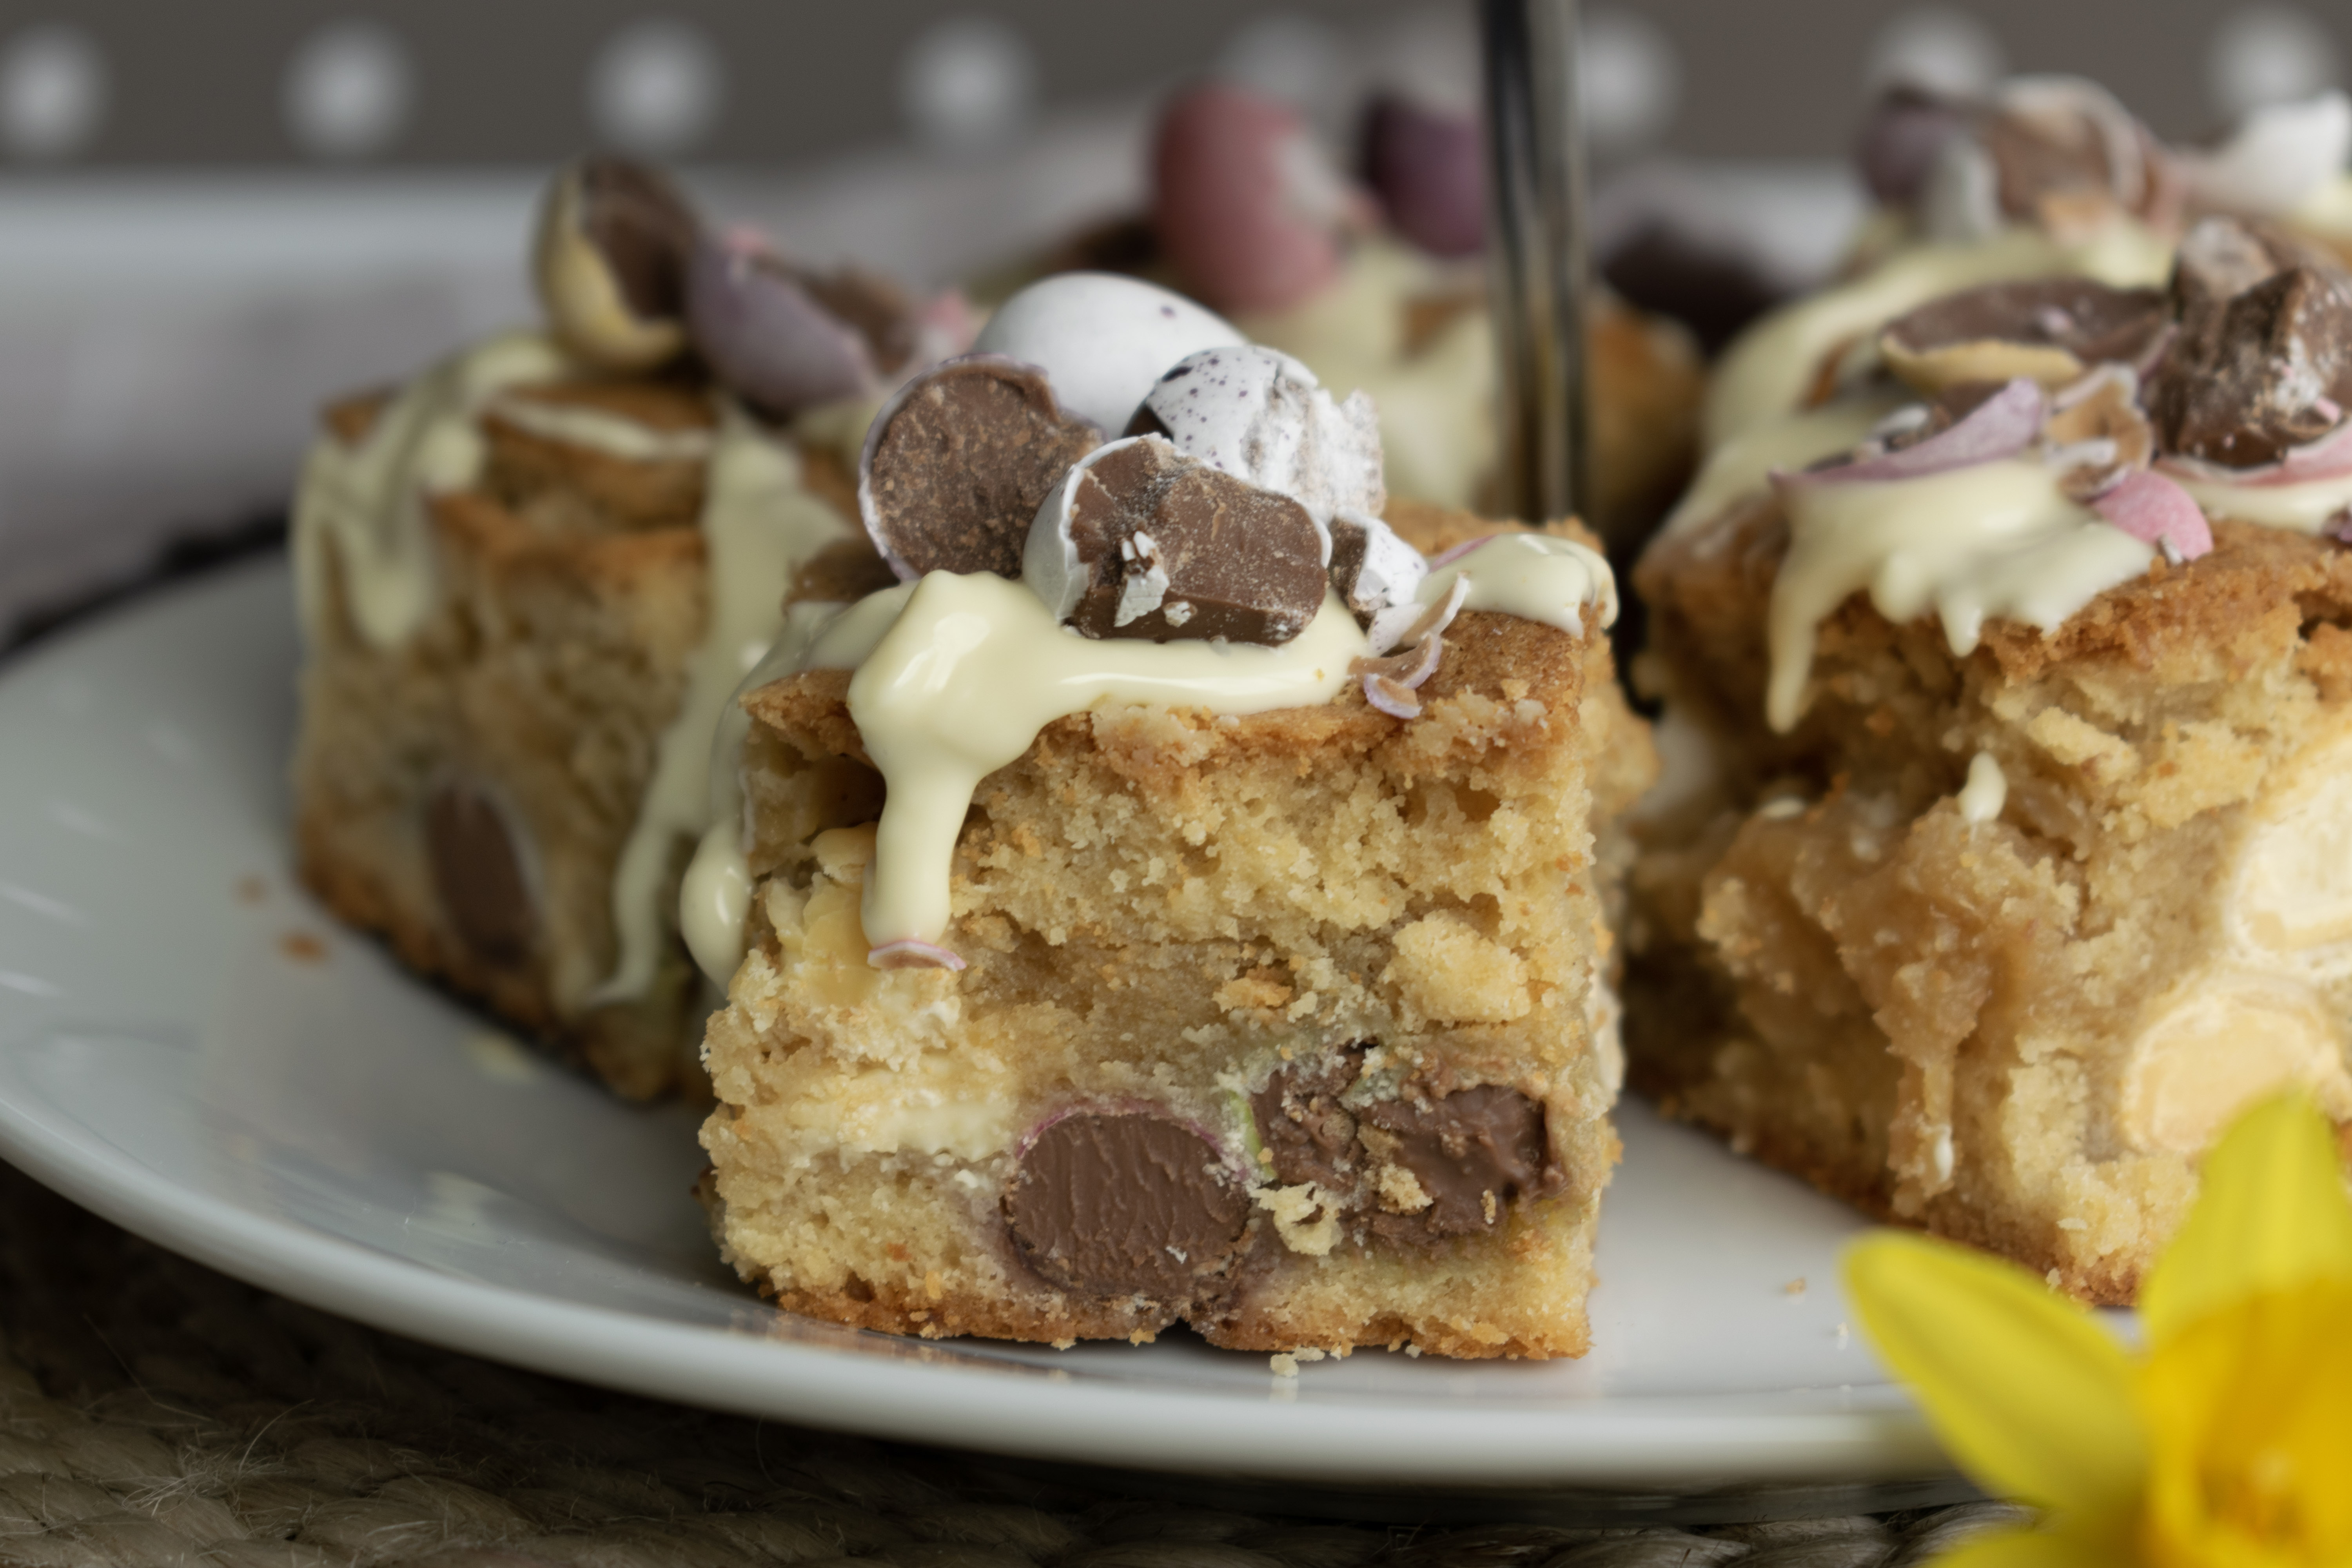
Then, it’s time for arguably the best part- decorating! Melt your white chocolate (either in a bain-marie or the microwave, although be careful not to burn it in the microwave), and drizzle over the top. Then, add your desired extra crushed Easter chocolates.
Cut up into slices (making sure to cut yourself the biggest slice), and they’re ready to eat, either while the chocolate is still runny, or once set.
Enjoy your blondies as they are, or warm up slightly in the microwave for a truly gooey treat.
They should last up to 3-4 days in a cupboard in a sealed container.
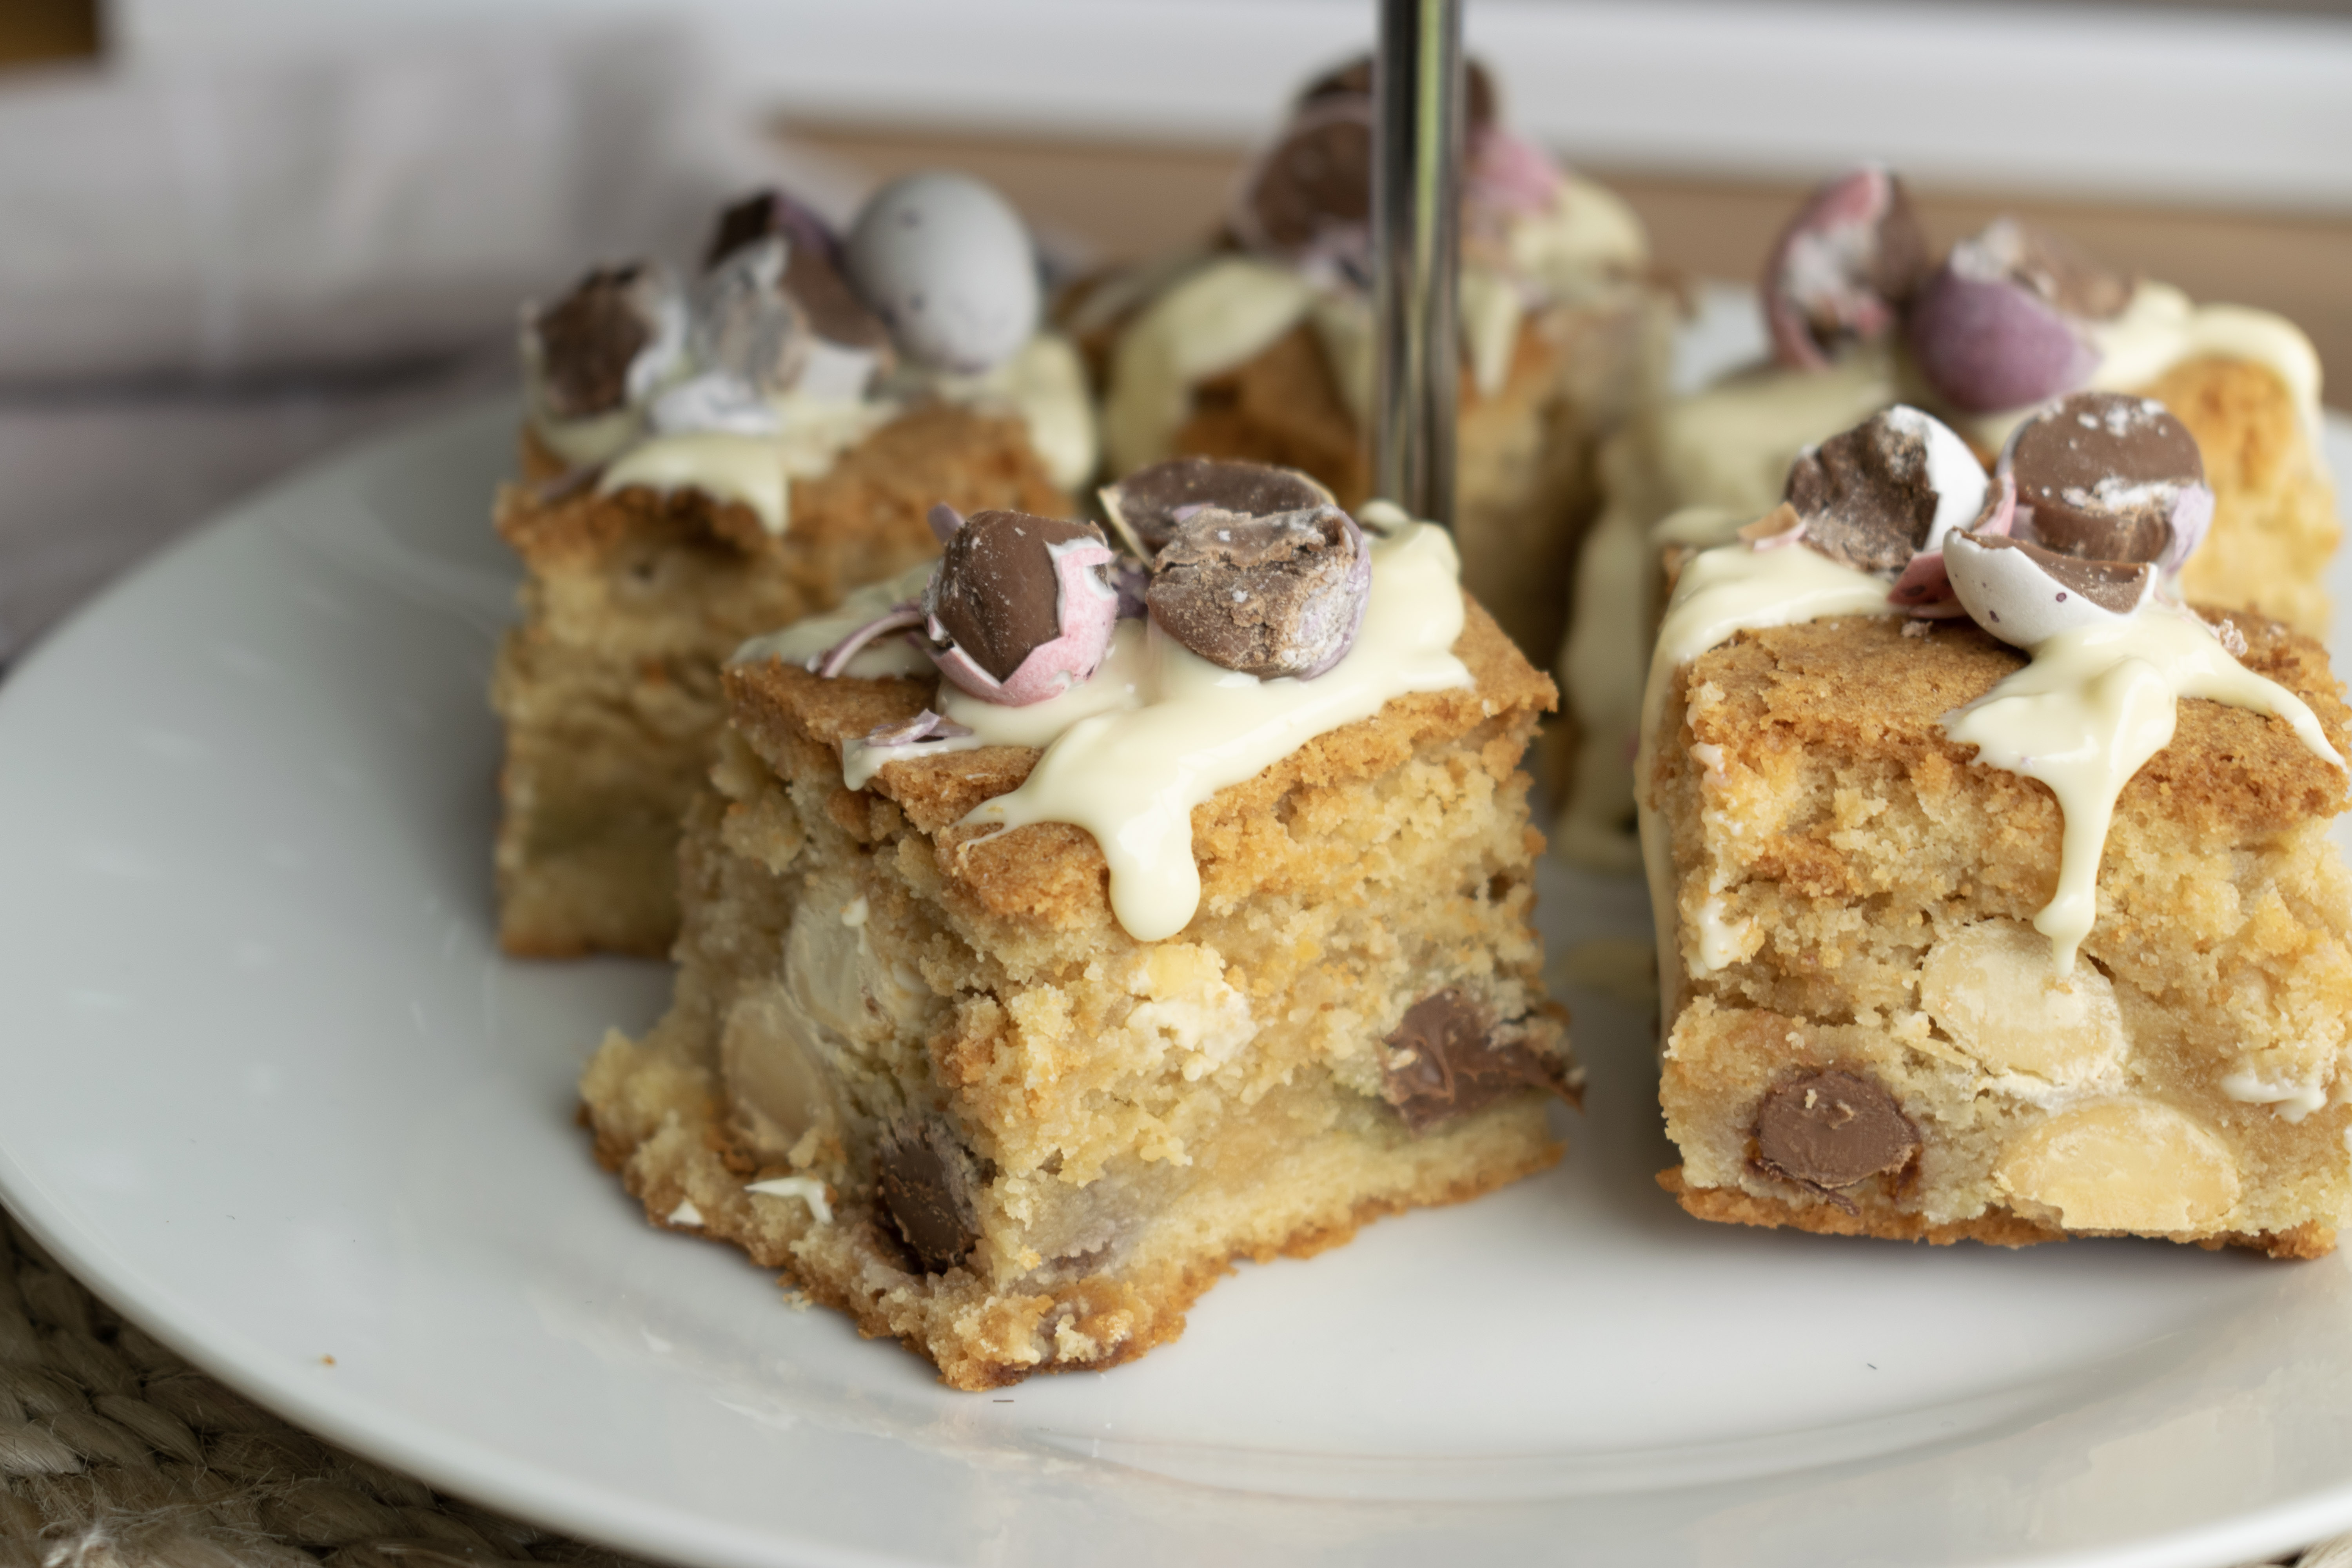
Have we inspired you to make your own Mini Egg Blondies?
We’d love to see the end result- share your pictures with us on social media and show us how you enjoyed yours!
Check out our other Journal posts for more seasonal inspiration.

Book a complimentary design session with your local 1909 expert to start planning your dream kitchen.
With our beautiful brochure, you can explore 1909 inspiration from the comfort of your very own home.
We are proud holders of the Planet Mark
Empowering change for a brighter future